Search This Blog

Saturday, March 29, 2014

Muse and Paper Smooches Sparks!

Hello
Everyone,
It is Saturday and even though I have lots of marking and planning to do for the upcoming school week, I decided to procrastinate a  little... I just received a delivery from Paper Smooches and could not resist getting inky! This card is inspired by the Muse challenge and by the PS Sparks Designer Draft.

I took a little liberty to play with the sketch at PS Sparks a bit. Over at Muse the inspiration card has this gorgeous sponged background with a striking white focal image. I love this combo. My colour choices are quite different, but I tried to emulate the blended gradient change from dark to light. I used the wonderful "Quotables" PS dies to create the speech bubbles. This is to emulate the white image in the Muse card. For the PS Sketch it was the side by side squares that made me think of the side by side (overlapping) speech bubbles. I am in love with this owl too - she is from the new PS set called Hooties. I added some eye lash extensions and and a little Wink of Stella "eye shadow" - just to glam her up a bit. I think she is stinking cute.

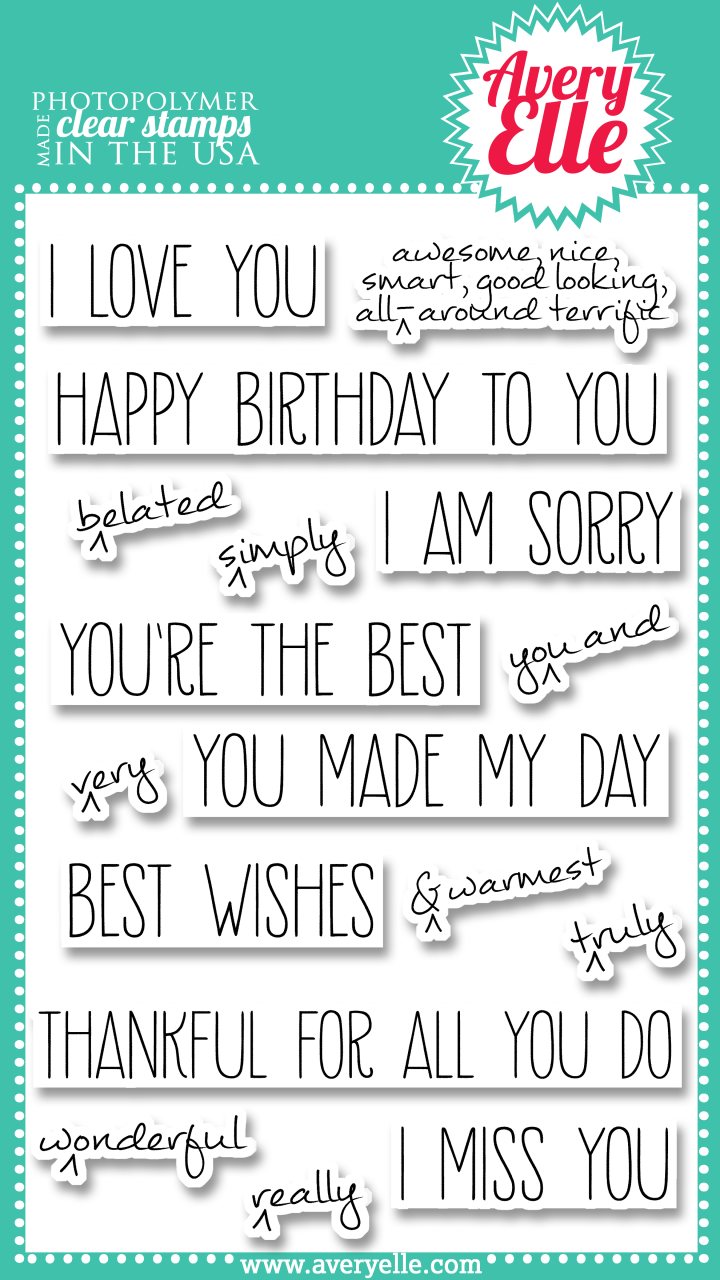
The sentiment is another new PS set called "Bold Buzzwords". Be sure to stop by both challenges. Thanks for stopping by here... I always love to have the feedback!

Happy Stamping,
Meg

Sunday, March 23, 2014

CAS 3: End of Class: One Technique Three Ways

Hello Everyone,
I am so sad that CAS 3 is done :( I loved this class... Well I love all the online card classes. If you haven't checked them out, you really should. I sign up everytime they announce and I am never disappointed. I love all the techniques they teach, but really it is the little tips/tricks that are revealed that I find the most valuable - so even if you think a class topic is not for you, take it anyway as you will be  surprised how much you learn! So on the last day, they did one stamp four ways. I wanted to catch up on some of the techniques I had missed, so I did one technique, three ways!


Anyway...I had not tried the sponged mosaic that was demoed on Day 5 and Day 10. I knew that if tried the embossing powder version, I would end up with a mess. Instead I tried the sponged version shown on Day 10. I masked off my pattern and then sponged with distress inks. I must say that I like the soft result, but found it very hard to sponge in those small geometric shapes. I also found it hard to keep the colours from overlapping. The end result, was okay, but the process was a little frustrating. That prompted me to look for other ways of colouring this mosaic background.


My eyes fell upon my Wink of Stella glitter pens...So, I decided to try those. I masked off the design and started colouring. These are not the brush tip pens, but are more of a fine tipped marker. I like the sketchy look it creates - my husband thought it looked a little messy! Whatever! I prefer the vibrant colours and the sparklyness - it was also easy to do.


Lastly, I used my Inktense watercolour pencils (LOVE these pencils). Same as the other cards, I masked off the design and coloured. I used watercolour paper for this as these pencils definitely work best on Watercolour paper. I think this is my favourite version.

I am also thinking that Distress Markers spritzed with water cold be really cool or even using my copics to create a blended ombre look - Hmmmm... I will have to try those later!. Thanks for stopping by - I love to hear your feedback.

Happy Stamping,
Meg

Saturday, March 22, 2014

CAS 3 Day 11: Combining techniques

Hello Everyone,
So, this card doesn't highlight the techniques from day eleven exactly (I did use masking) - but, it does combine some techniques in a fun way. I just can't get enough of plaid stamping (as is evidenced by my recent posts) and am having so much fun with it. So, Combined that with inlaid die-cutting and then added a twist.


First I created my plaid panel using the technique that Laura B showed early in class. I decided to make it a solid plaid with no white space. I then die cut the "Hello" from it. I really loved the way the plaid hello looked and set it aside. I cut a second senitment from white cardstock to inlay in the plaid panel. It looked nice - crisp white juxtaposed with the bold plaid. Then I had a thought - what if I off-set the plaid Hello to create a shadow effect and did plaid on plaid. Icut a few more sentiments from white cardstock to layer and give some dimension and then adhered the palid die cut onto them - I just off set it a little. I am thrilled with the way it turned out. It was hard to photograph, but it looks really cool in real life.


I must say that I just love these online card classes. I love the inspiration, the learning, and the exposure to other blogs and stampers.

Happy Stamping,

Muse, Simon Says Glitter, and Little Tangles

Hello Everyone,
I have been so busy posting for the CAS3 Online Card Class that I fell behind on challenges last week. So, I did not want to miss them this week. When I saw Marion's great Muse card, I immediately fell in love with it. The ideas have been percolating all week. I knew that I wanted to use the rainbow colours and the bold black "Hello". I dreamt this card the other night and finally got into my craft room this morning. In the meantime I saw that the challenge over at Simon Says Stamp is "Glitter It" and that at Little Tangles it was to create a card and envelope. So, I am entering this card into all three. I used some of the techniques I learned in the online card class too (inlaid die-cuts).

So, to create this card I stamped the hello "brick" background with Neat and Tangled's "On the Strip" using a rainbow of Hero Arts Shadow inks. Then I die cut the Simon Says "hello" from the panel. I die cut four more Hellos (3 in white and 1 in black) and inlaid them. This way I get a seamless layered look. Lastly to add a bit of glitter, I added a layer of clear Wink of Stella to my sentiment. I must admit that I love my Wink of Stella clear pen the best - which means I go through them way to quickly!

For the envelope, I used my We R Memory Keepers Envelop Punch to make a standard size envie - I custom made it because I felt the weight of a regular envelope might not stand up to all the ink. I masked off a rectangle in the center for the address and used N & T's " On the Strip" again. I think this would make a geat card set to give away!


I am thrilled with the way the card turned out. Thanks for stopping by - I love to hear your feedback.

Happy Stamping,
Meg

Tuesday, March 18, 2014

CAS 3 Day 8: More Copic Blending

Hello Everyone,
Today at CAS 3 we are learning more creative colouring techniques. Donna Mikasa showed a really simple copic colouring technique to create these beautiful rose-like flowers. Essentially, you colour a circle in a light colour of copic, then layer darker shades here and there to create the flower. Draw some leaves and presto - you are done! I pretty much copied Donna's card and I loved creating it - it was so quick and easy. I am definitely going to use this technique a lot and play around with colour combos! Thanks for stopping by; would love to hear what you think.

Happy stamping,
Meg

CAS 3 Day 7: Watercolouring

Hello Everyone,
Yesterday over in my online card class, Jen Rzasa demonstrated a very simple water colured feather that she hand drew - well, as I watched her video tutorial in admiration, panic set in because I am more than a little afraid of watercolouring. Lucky for me, I don't have a set of watercolour paints, so I felt I could "cheat" a bit. I stamped these beautiful poppies from a Penny Black set in waterproof ink and then coloured them with my inktense pencils. Add water and you have my kind of watercolouring. I like the way it turned out. I will admit, that while I very much admire watercoloured cards, I always feel like my colours end up looking too washed out and I like bright bold colours better. Thanks for stopping by and let me know what you think.

Happy Stamping,
Meg